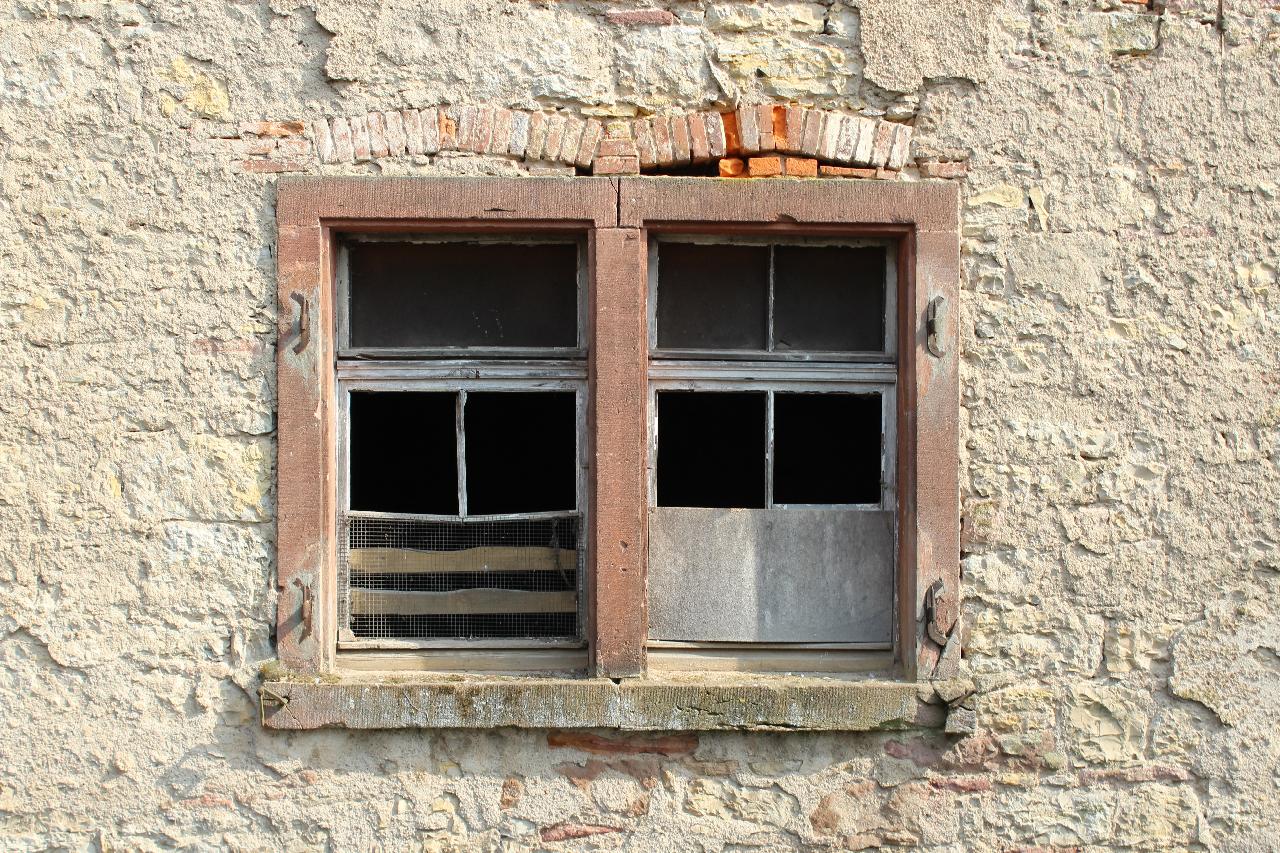
We also know plexiglass as “Acrylic sheets” or “Plexiglas”. These are for alternative use of glass sheeting. The transparency level of Plexi glass sheet is as same as glass. However, glass sheets are more durable and also shatter-proof relatively. Acrylic sheeting is preferable to use in replacing window panes, surface protection, or shelving. Since the sellers typically sell this in predetermined sizes, you can consider anything you can use this glass sheet for and then purchase your required amount.
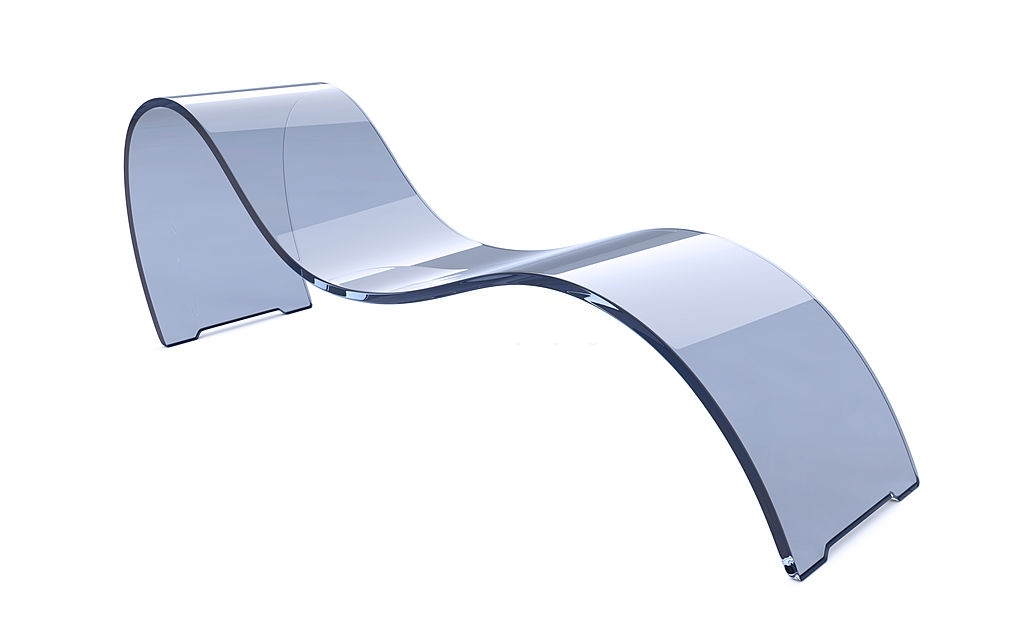
Based on the necessity, you can bend flat acrylic sheets or create curves very easily. You can do it as a DIY project without any professional assistance. Very efficiently, you can perform this bending process only with some easily available materials like common heating source, simple jig. This DIY guideline will help you to follow the step by step process.
Tools and Materials needed to bend plexiglass
For this DIY, you will need the following tools/materials:
Heat Source
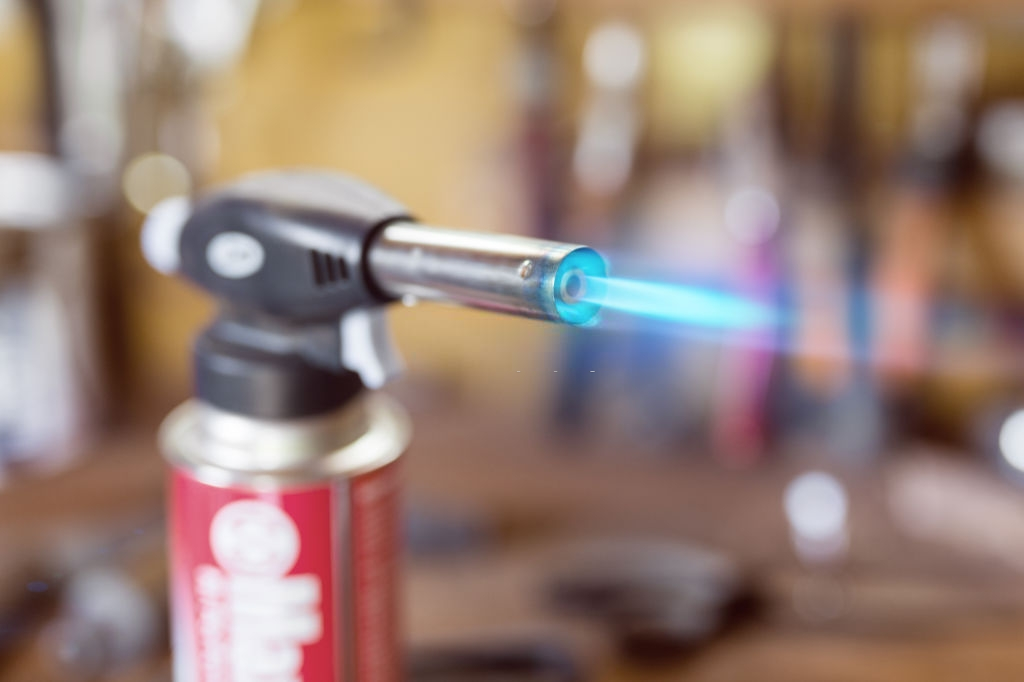
There you will need such a heating source that is perfectly fit for a small area. Some recommended simple tools could be best as a heat source. You can pick your preferable one, which you can arrange easily.
Option 1: Butane Torch (Small one that is perfect for kitchen works)
Option 2: Embossing Heat Tool (Usually the card makers or scrap bookers use this for melting and applying embossing powder)
Option 3: Heat Gun (Use especially for a large project. Hairdryer is not perfect, because it cannot produce a certain level of heat)
Scrap wood
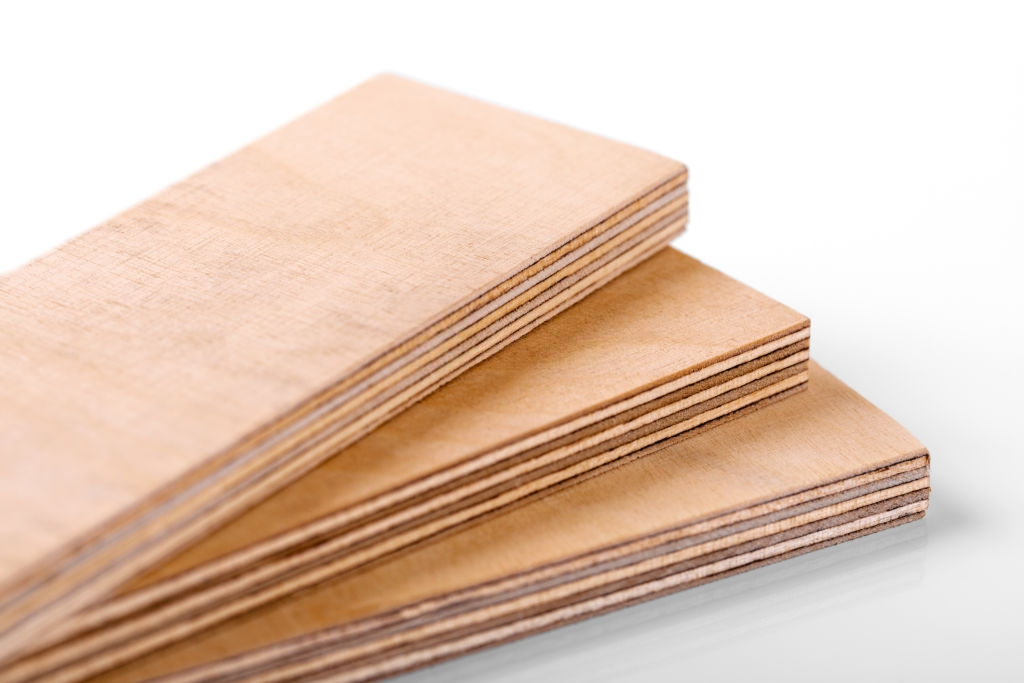
For jig, you will need a piece of wood. Edges of the wood piece will be straight. You can take something, which is at least 1/8 inch thick. Consider it to be wide enough for the clamps.
Now you will need to arrange the perfect spacers. Spacers can be in the same thickness or a little bit thinner compared to the plastic required to clamp for keeping strip wood jig even. Then finally, you need a heatproof work surface.
Clamps
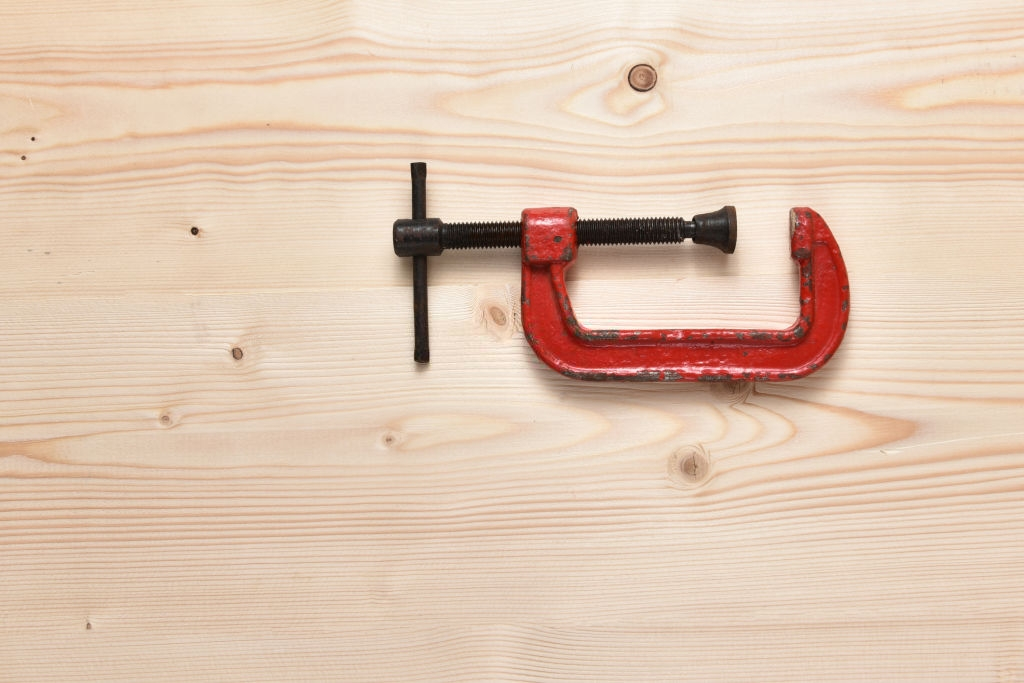
In that case, quick release bar clips are preferable. However, you can also use anything that can hold on the scrap strip wood like the bending jigs.
Plexiglass or Acrylic Sheet
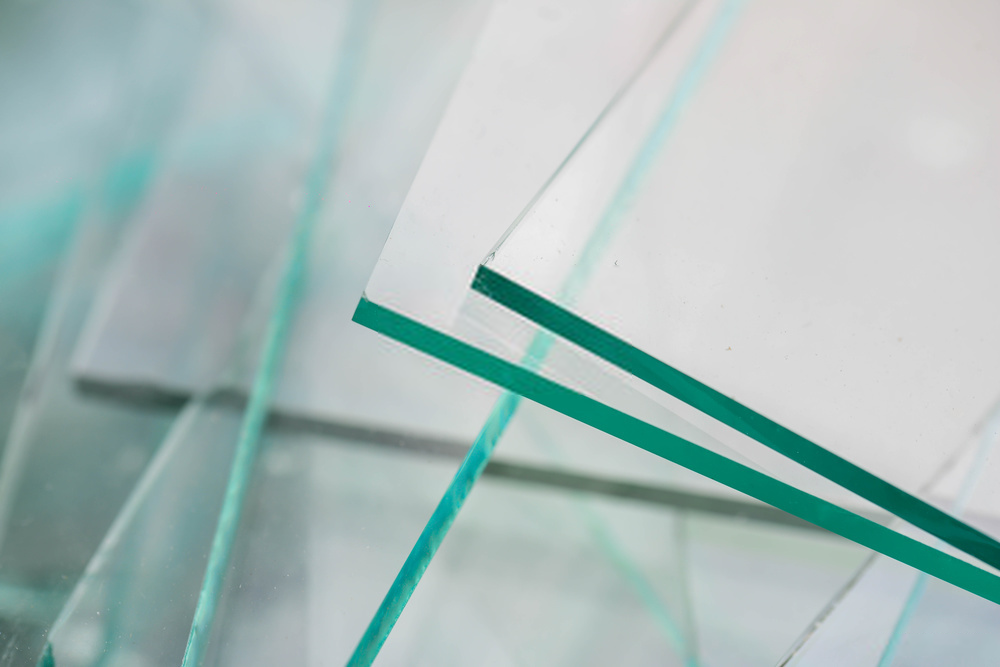
For this, you need the small pieces of acrylic sheet with thicknesses up to 1/8 inch. If you use a thicker acrylic sheet, you will have to be more careful in using it. Note that, some colored Plexiglass sheets are heat withstanding and sometimes plastic. You cannot bend these by applying heat. It is better to avoid these.
Security Equipment

Using hot plastic is risky. Fix your working area away from inflammable materials that are well-ventilated. Maintain eyes and hands. For saving hands from burning, you can use oven gloves or welding gloves.
DIY procedure to bend acrylic sheet
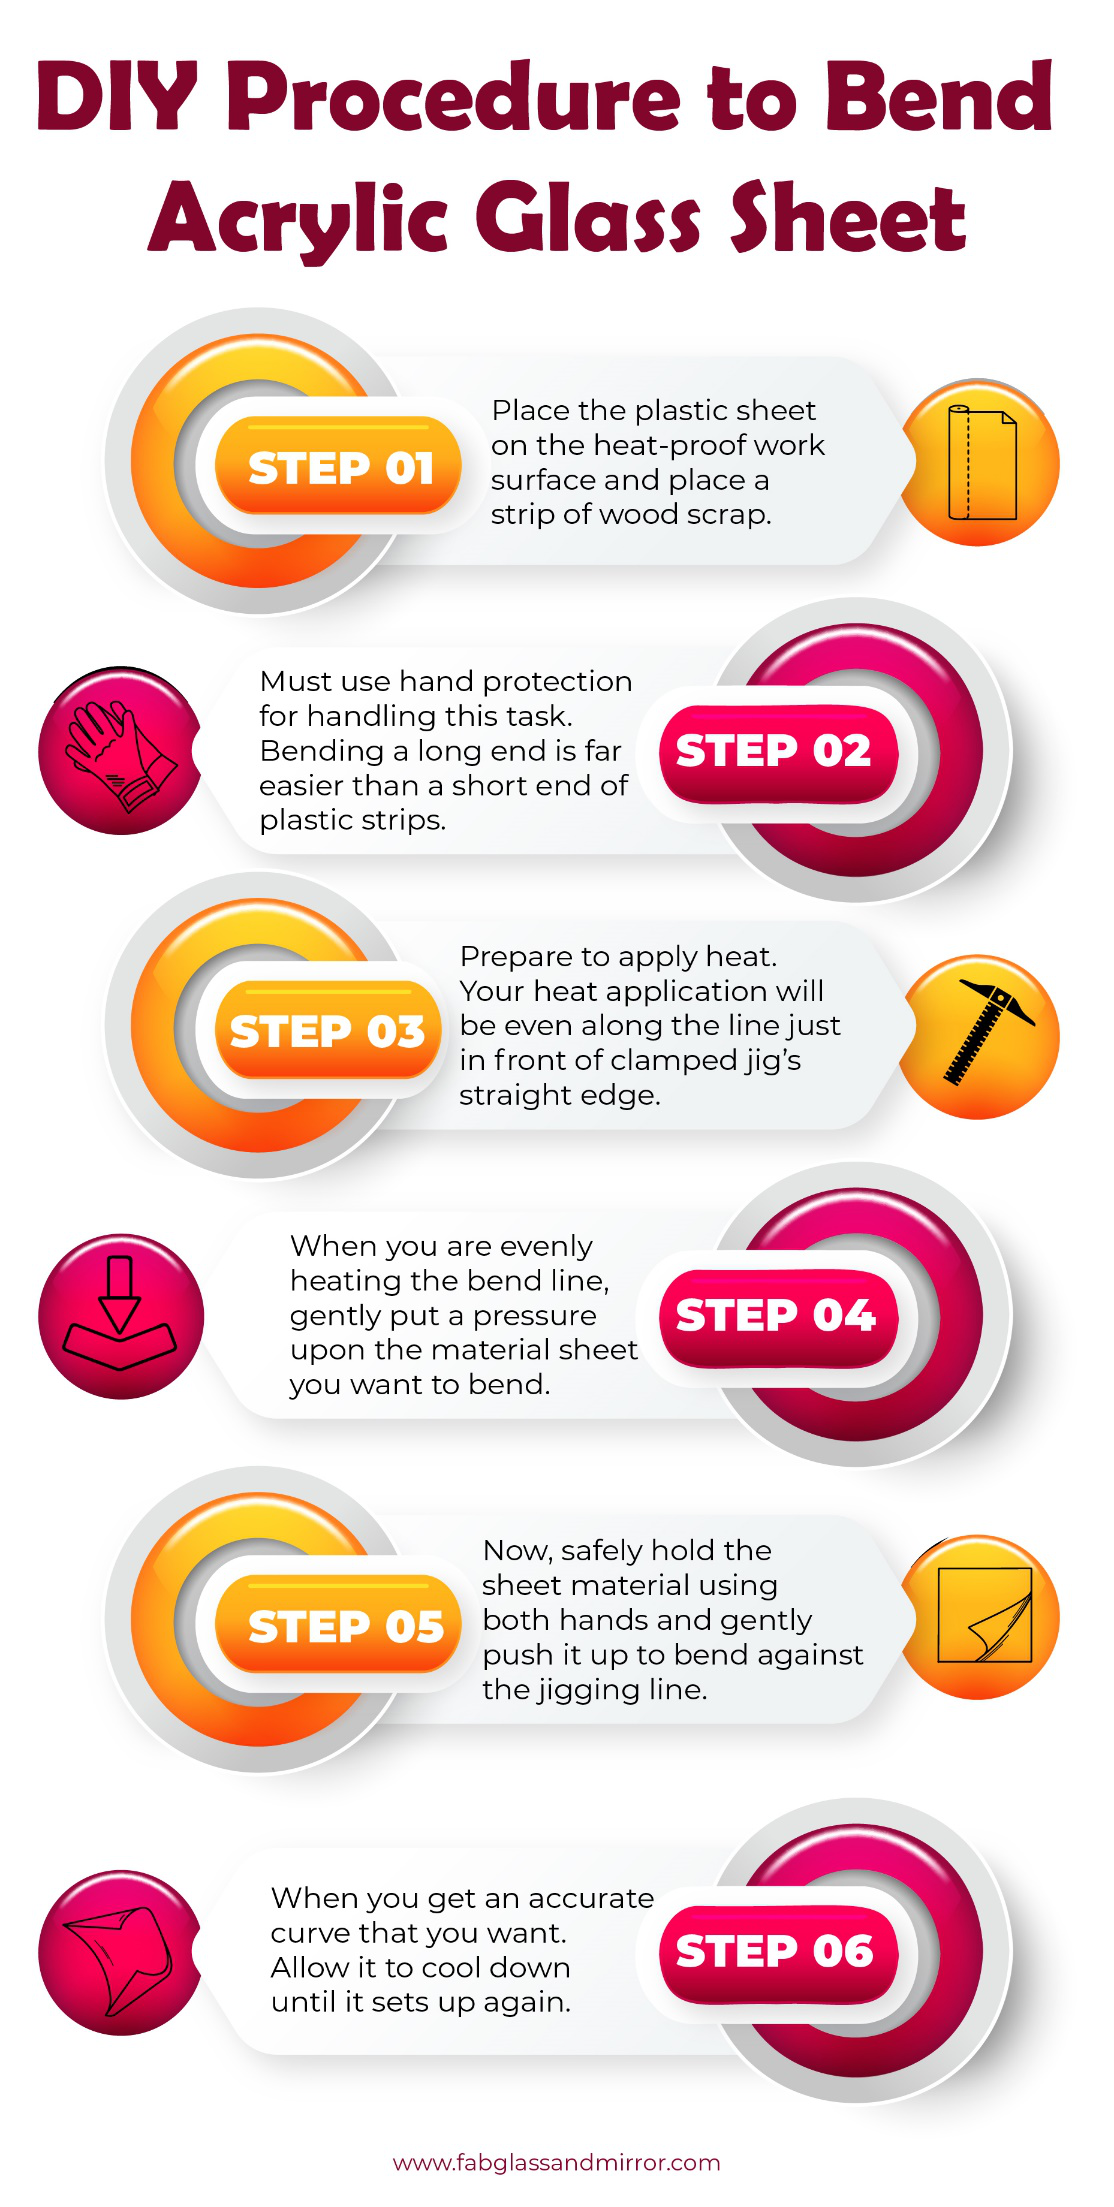
Firstly, you need to set up the plastic or acrylic sheet accurately.
Set up Plastic or Acrylic Sheet
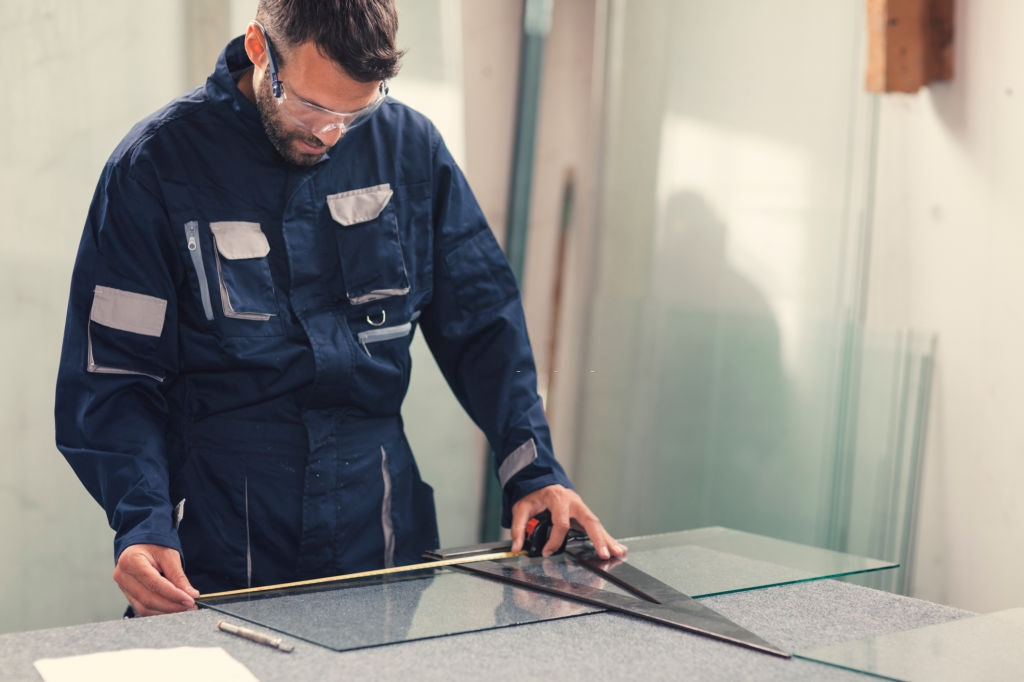
Remove the covering from the material that you want to bend. To apply this technique, use long thin test strips. The measurement can be one inch or so in width. Take learning about heat source affects. Place the plastic on the heat-proof work surface. Over the plastic, place a strip of wood scrap. Try to place it at least 1/4 inch in front of where you want to start your bend. Actually, you have to fix this distance based on the plastic thickness. If the plastic is thicker, keep enough space to be more bend comfortably. In that case, use a ruler for perfect measurement.
Try to leave an extended end of the plastic strip where it is easily possible to push up on it. Must use hand protection for handling this task. Bending a long end is far easier than a short end of plastic strips. Keep all the heat-sensitive flammable materials away from the working place, as it can be risky when you will apply heat.
Making Successful Straight Bend
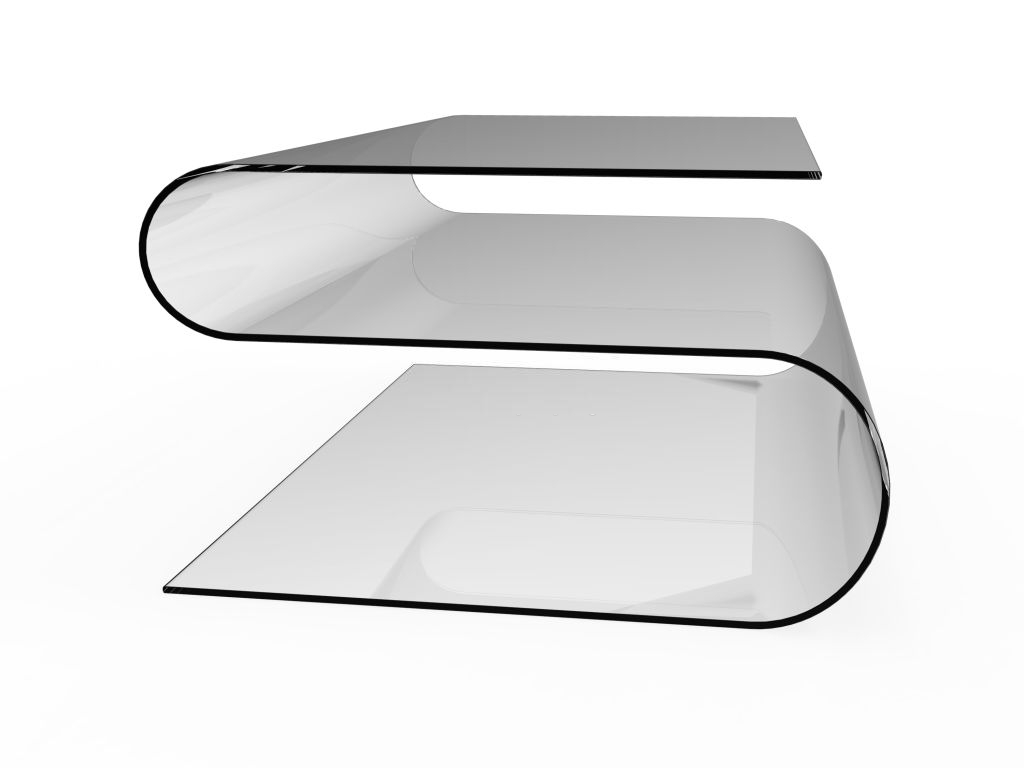
With the acrylic sheet clamped strongly to the heat-sensitive work surface under a straight end. It will define the bending point. Now prepare to apply heat. Your heat application will be even along the line just in front of clamped jig’s straight edge. For even heat application, move your heat source evenly in moderate slow speed along the plastic line in front of the jig. Keep it away enough that the heat source cannot burn the wood jig.
When you are evenly heating the bend line, gently put a press upon the material sheet you want to bend. You will get a point while the material’s upward movement will be easy, as it gets a molten state. Feel this state evenly along with the full width of the bending strip. There will be no uneven softness on one side compared to the other.
Remove the heat source when you feel the even softness that is allowed pushing anywhere equally. Now, safely hold the sheet material using both hands and gently push it up to bend against the jigging line. When you get an accurate curve that you want, gently place it for some moments. Allow it to cool down until it sets up again.
Note: Must use two hands for even pressure and use hand gloves, as the surface will be hot enough.
What’s the risk in this DIY project?
You may experience some unwanted incidence if you are not careful enough. To avoid the risks below are two cautions.
Creating Bubbles

If the heat application in an uneven, overheating in one place, can create scorch marks or bubbles. These bubbles can be permanent. To skip this risk, keep your heating torch or heat gun at a standard distance from the plastic. Even then, if bubbles occur, move the heat fast lengthwise to your bend line. Alternatively, you can place the holding in a distance from your sheet material surface.
Unsuccessful twisted bend
The bending process will be unsuccessful if it gets uneven pressure. If you try to bend so earlier when the material is not evenly soft enough, this results in twisting failure. When one side of the strip material is not properly ready and you try to make the bend; it creates an angle rather than a straight bend line. To avoid this risk, you must carefully observe the readiness of the strip material and start the bending process at the right time.
Discover more from Futurist Architecture
Subscribe to get the latest posts sent to your email.


