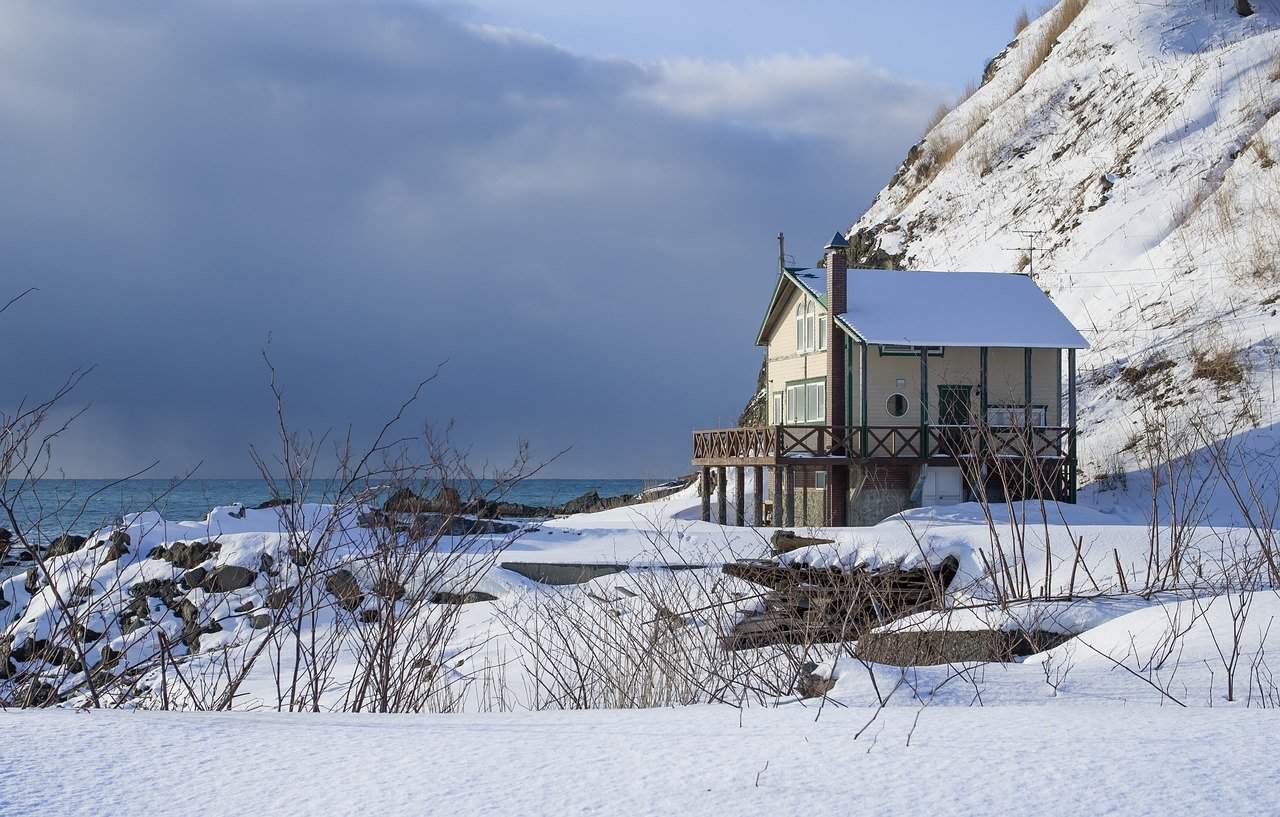
With winter almost here, you need to take measures to protect your home from freezing temperatures. Pipes are the most important components you need to address.
Plumbing winterization is common and relatively straightforward. However, if you have a sprinkler system, you need to take steps to prepare it for the cold. This is a little more complicated.
Failing to winterize your sprinkler and irrigation system can lead to extensive damage. When you try to water your lawn for the first time next spring, you may discover broken pipes and valves.
If this is your first time dealing with this home maintenance project, keep reading. We’re going over how to winterize a sprinkler system and keep your irrigation in check.
Cut the Water Supply
The first step in the process is to turn off the water supply to your sprinkler system. You’ll need to drain the system, so there’s no reason to keep the water on throughout the winter.
The way you turn off the water supply depends on the type of system you have. Check your owner’s manual if your not sure how to do it.
Many sprinkler systems have shut-off valves located in either a basement or crawlspace. If this is the case, all you need to do is locate the valve and turn it off.
Some systems use a valve box that gets buried underground upon installation. These require a large key that turns the water on and off. If you don’t have the key to your system, the manufacturer should be able to provide one.
You may also have a sprinkler system that operates using a pump. You’ll need to drain and disconnect it for storage throughout the winter. If your pump isn’t removable, drain it and cover it with an insulated blanket.
Drain Your System
The pipes in a sprinkler system need to be free of all water. This ensures they don’t freeze and burst when the temperature drops.
Your system either has manual or automatic valves. Each type requires a different draining process.
If you have manual valves, you’ll need to locate each one. They’re positioned at the low points in the system’s piping.
Open each valve manually to let the excess water drain out. Leave these valves open throughout the winter.
Some systems have check valves located on the sprinkler heads. If this is the case, you’ll need to pull up on each sprinkler to let the water drain out.
Automatic valves open when the pressure inside the pipes drops. If you have this type of system, you’ll need to turn on individual zones for several minutes at a time. This relieves the pressure in the pipes so drainage can occur.
Blowing Out the System
Even after you drain the water from your system, you’ll need to blow it out with compressed air. This ensures no residual water remains.
You’ll have to have an air compressor to do this. If you don’t, most home improvement stores rent them.
Before blowing out your system, close the valve of the backflow preventer. This is the device that ensures water doesn’t back up in your home.
You’ll hook the hose of the air compressor to a port on the backflow preventer. Look for a plug that’s sealing the port and remove it.
When blowing out your sprinkler system, you don’t need much air pressure. In fact, too much can damage your system.
Send air into the system until the sprinkler heads shoot up. Once they do, stop. Do this a few times to ensure all water gets removed.
Applying Insulation
When winterizing your sprinkler system, a good rule of thumb is to insulate any exterior pipes. This helps prevent breakage during hard freezes.
Start by insulating the main shutoff valve. Wrap it in insulation tape and cover it with a heavy-duty trash bag. You can also opt for insulation tubes.
You’ll also need to insulate the backflow preventer if it’s exposed. However, make sure you don’t cover the air vents or areas where water drains out.
Make sure you cover the backflow preventer with a trash bag. You don’t want the insulation material to get wet.
If you’re worried about insulation getting wet, consider using teflon tape. There are several benefits of teflon that make it perfect for insulating pipes and valves. It’s water-resistant and can withstand extreme temperatures.
Preparing Your Controller
You’ve done the labor-intensive work to winterize your sprinkler system. However, if you have an automatic system, you’ll need to change the settings on your controller.
Check if your controller has a rain setting. This cuts off the signals from the controller to the sprinkler valves. The advantage of this is that the programmed settings aren’t lost during the winter.
If you don’t have a rain setting, you’ll need to shut down the controller altogether. Remember to reset it once you turn it back on in the spring.
If your system uses a pump that’s activated by a controller, you’ll need to take an extra precaution. Disconnect the wires that control the master valve. This ensures the pump doesn’t accidentally come on and overheat.
Other Winter Irrigation Tips
Your sprinklers are now winterized, but there are some other things you can do to protect the system throughout the winter.
When decorating your lawn for Christmas, be careful when installing inflatable ornaments. You don’t want to puncture a pipe with a stake.
If you have manual valves, turn them on and off from time to time. This prevents them from sticking.
Finally, make sure to regularly check the insulation on all pipes and valves. If you notice wet insulation material, replace it right away. It’s also a good idea to check for condensation in trash bags used to cover components.
Learn How to Winterize a Sprinkler System the Right Way
To fully protect your irrigation system in the winter, you need to be thorough. Ignoring steps because you don’t think you’ll encounter a problem could lead to damage.
Use these tips on how to winterize a sprinkler system and be ready for cold temperatures.
We hope you found this article informative. Browse the rest of our site for more articles on a wide range of home improvement topics.
Discover more from Futurist Architecture
Subscribe to get the latest posts sent to your email.


