Whether you’re looking to refresh the interior of your home with a new splash of colour, or you’ve finally decided to bid farewell to that beige wall that’s been taunting your design dreams, the first brushstroke of any interior house painting project is preparation. Great painting results hinge on a great prep job, so as eager as you are to see the transformation, it’s crucial not to rush this vital step. To ensure your painters can work efficiently and deliver the flawless finish you desire, your role as a homeowner is to prepare the canvas – your walls – carefully and thoroughly.
In this comprehensive guide, we’ll walk you through the vital steps required to ready your home for interior house painters. By the end, you’ll be in a prime position to not only witness but also contribute to a successful painting operation that will leave your room looking like it leapt from a magazine spread.
Clearing and Cleaning
The canvas for any artist is much like the bare walls of a room before being painted – they should be free of distractions and as clean as possible. This means clearing out any furniture and fixtures that could impede the painting process and cleaning the walls to ensure a smooth surface for paint to adhere to.
Removal of Furnishings
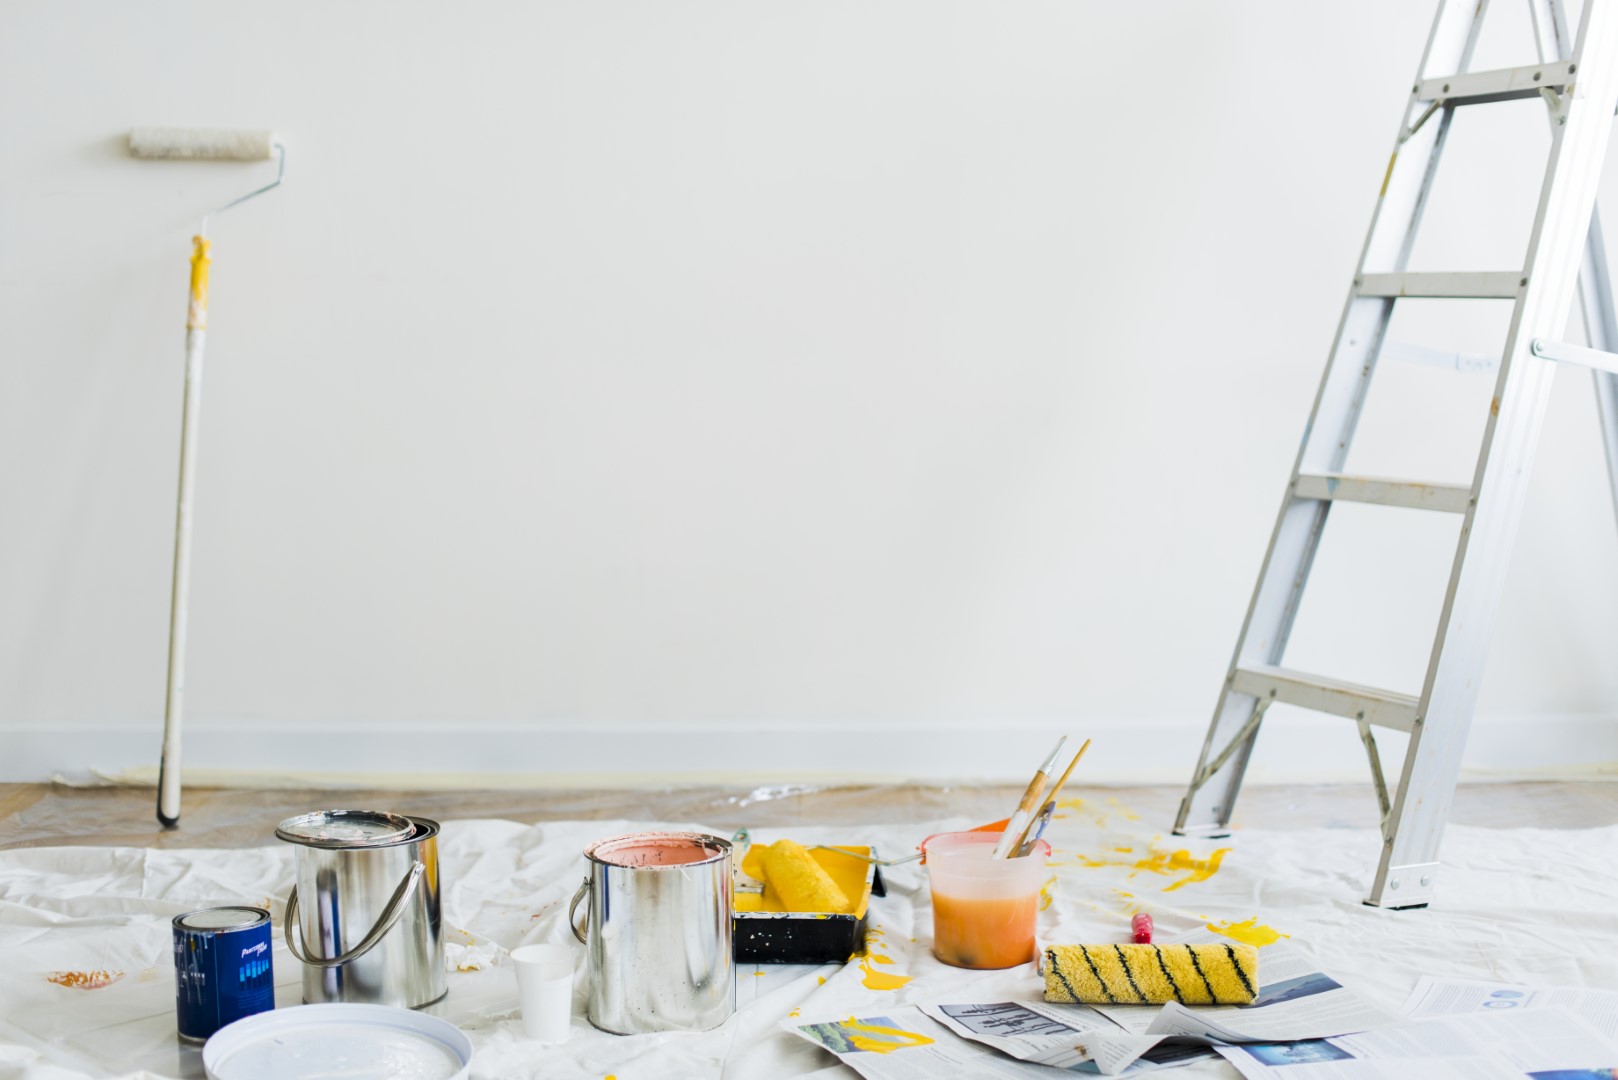
Start by creating an empty space. The room should be devoid of all furniture, or at the very least, arranged in the centre and covered with a cloth or plastic to protect from dust and paint. Removing items from the room also prevents accidental damage or the accumulation of paint splashes where you least expect them.
Pro Cleaning Tips
Before the paints and primers come out, the dust needs to go. Simple vinegar solutions can effectively clean the walls of grease in the kitchen and the “oh-my-why-is-it-so-dirty?” spots on the walls. Avoid using aggressive chemical cleaners or abrasive scrubbers, lest you harm the integrity of the wall.
Repairs and Patching
Just as a preliminary sketch defines the final masterpiece, the patching and repairs are the building blocks for a perfect interior paint job. This is the time to fix any imperfections that might mar the finished wall’s aesthetics.
Filling Holes
Scan your walls meticulously for any nail holes, dents, or wall anchors that are no longer in use. A good spackling compound is like an artist’s putty – it fills the gaps and dries to a paintable finish. Remember, applying more than one thin layer is often better than a single thick one.
Smoothing Surfaces
Following repairs, ensure all surfaces are smooth. This step can make a colossal difference in the final appearance of the room’s walls. Sanding may be necessary to flatten the patched areas and any rough patches resulting from the repair compound. You want your walls to feel as smooth as butter beneath your painter’s roller.
Protection and Covering
Imagine the floor as the frame to your wall’s painting. Just as it’s crucial to select the perfect frame to complement a piece of art, protecting the area around your walls is essential in the painting process.
Masking Off Areas
Any woodwork, trim, windows, or doors that you’re not planning to paint should be meticulously taped with painter’s tape. This specialised tape is designed to adhere well, protect from paint bleed, and can be easily removed without leaving a sticky mess behind. It’s a simple, yet often-skipped step that can lead to a paint job looking professional instead of amateur.
Covering Martyrs
Treasured floors and fixtures that remain in the room need proper covering. Opt for canvas rather than plastic – it’s a breathable fabric that’s less likely to cause sweating and paint drips. For the floors, heavy-duty rosin paper is the traditional painter’s choice, as it’s tough enough to withstand paint spills and foot traffic.
Communication with Painters
It’s your home, and you deserve to have it painted exactly as you desire. Communication with your palm beach painters ensures that your vision is understood and your concerns are addressed.
Sharing Preferences
Do you have a specific paint brand you’re fond of, a particular sheen that you want, or a method for covering an intricate ceiling detail that you prefer? These are all details you should discuss with your painters before the project begins.
Establishing a Timeline
Setting up a clear timeline benefits both you and the painting crew. It allows you to make the necessary accommodations for not having access to that room and allows the painters to plan their workday effectively. Make sure to account for the drying time of the primers and paint, which can vary by product and environmental factors.
Final Checks
Before the first stroke of paint, take one final lap around the room to ensure everything is in place – both literally and figuratively.
Inspecting Prep Work
Verify that all holes have been filled, all furniture and floors adequately protected, and that every inch of the walls has been cleaned. This thorough inspection guarantees that your painters can work uninterrupted.
Ready, Set, Paint!
With the prep work complete, all that’s left is to bring in the professionals and watch as your drab walls transform into an expression of your style and home life. Trust the process and remember the wise words of the late Bob Ross: “There are no mistakes, only happy accidents.”
Remember, house painting is not just a means to refresh the look of your home; it’s an investment in your space’s future. Proper preparation can extend the life of your paint job and contribute to the overall health and cleanliness of your interior environment. Take pride in the part you play, and in the aesthetic value, you’ll reap for years to come.
Conclusion
A well-prepared painting project is likened to a well-scripted play – the actors bring your story to life, but the behind-the-scenes preparation is what ensures a standing ovation. Follow these steps, communicate clearly, and you’ll be well on your way to a transformed space that truly feels like home.
In the end, the collaboration between homeowner and painter is what makes any house painting project a success. Much like the symbiotic relationship between artist and subject, when both parties contribute their best, the results can be stunning. Now, go forth, prepare, and paint!
Discover more from Futurist Architecture
Subscribe to get the latest posts sent to your email.


